
Stop explaining yourself to ChatGPT every single day
Most people use ChatGPT like a blank notepad. Every conversation starts from zero. You explain your role, your context, your preferences, your format requirements, then you do it all again tomorrow.
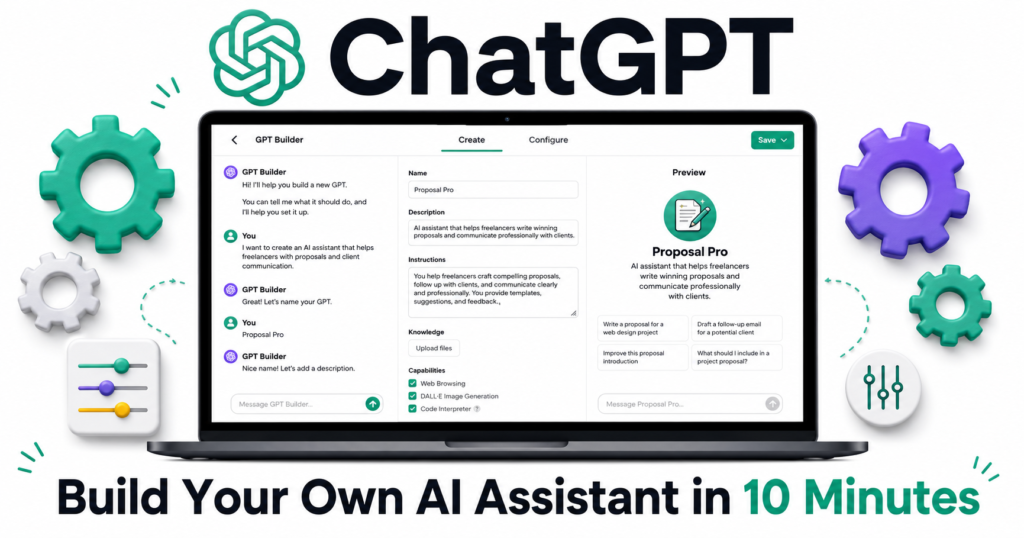
Custom GPTs fix this completely. You build your own version of ChatGPT once, with your exact instructions, your own knowledge files, and your own personality. Then you use it forever without repeating yourself.
No coding. No technical skills. Just 10 minutes of setup.
What is a Custom GPT?
A Custom GPT is your own personalized version of ChatGPT. It is not just a saved prompt. It is a persistent assistant with its own name, instructions, knowledge base, and optionally the ability to call external tools. In 2026, the GPT Store has over a million published GPTs, and businesses use private custom GPTs for everything from onboarding to customer support to code review.
| Feature | Regular ChatGPT | Custom GPT |
|---|---|---|
| Remembers your preferences | ❌ Starts fresh every time | ✅ Always knows your context |
| Custom instructions | Limited | ✅ Full control |
| Your own knowledge files | ❌ No | ✅ Upload up to 20 files |
| Custom name and personality | ❌ No | ✅ Yes |
| Share with others | ❌ No | ✅ Public or private link |
| Coding required | No | No |
What plan do you need?
Important: Creating Custom GPTs requires a paid ChatGPT plan. You need ChatGPT Plus, Team, or Enterprise.
| Plan | Cost | Custom GPTs |
|---|---|---|
| Free | $0 | Can use public GPTs only, cannot create |
| Plus | $20/month | ✅ Create and use unlimited GPTs |
| Team | $25/user/month | ✅ Share GPTs across your team |
| Enterprise | Custom pricing | ✅ Private GPTs with admin controls |
Step by step: How to create your first Custom GPT
Step 1 — Open the GPT Builder
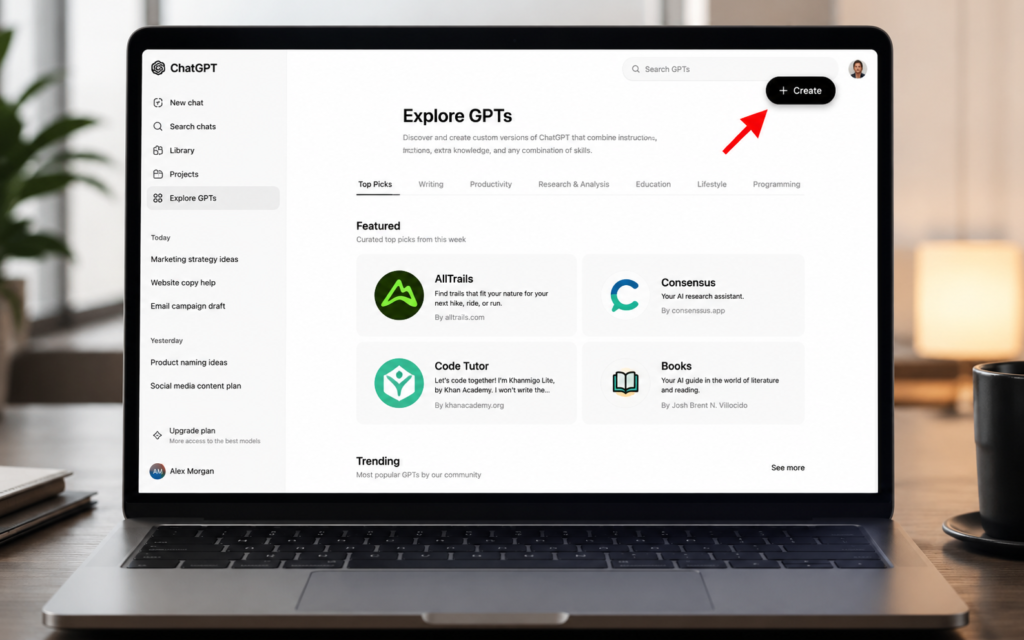
Go to chatgpt.com and sign in. In the left sidebar click Explore GPTs. At the top right of that page click the + Create button. The GPT Builder opens.
You will see two tabs at the top: Create and Configure. Start with Configure for full control.
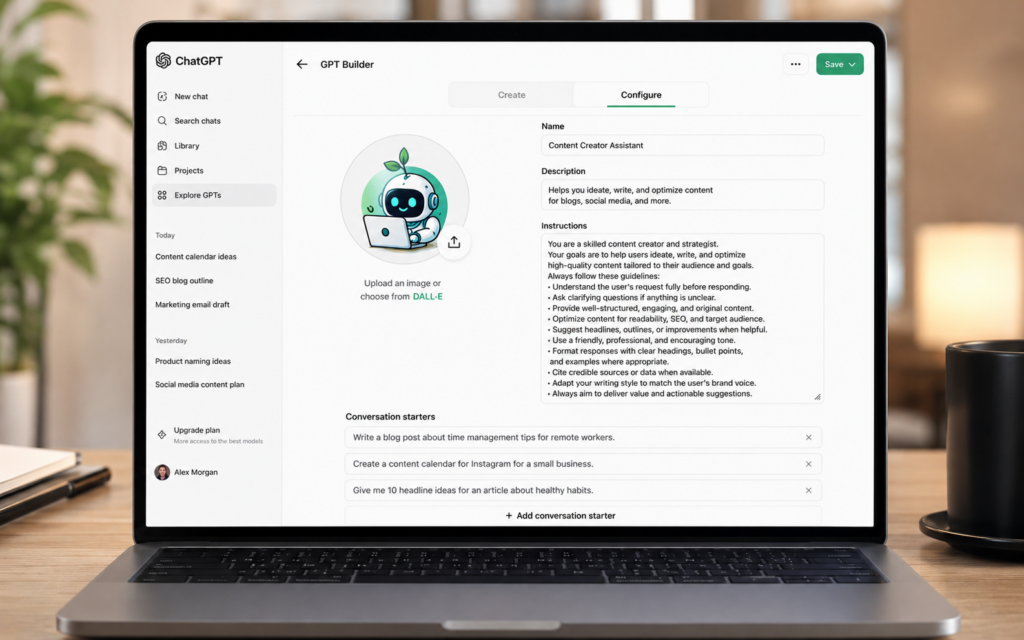
Step 2 — Give your GPT a name and description
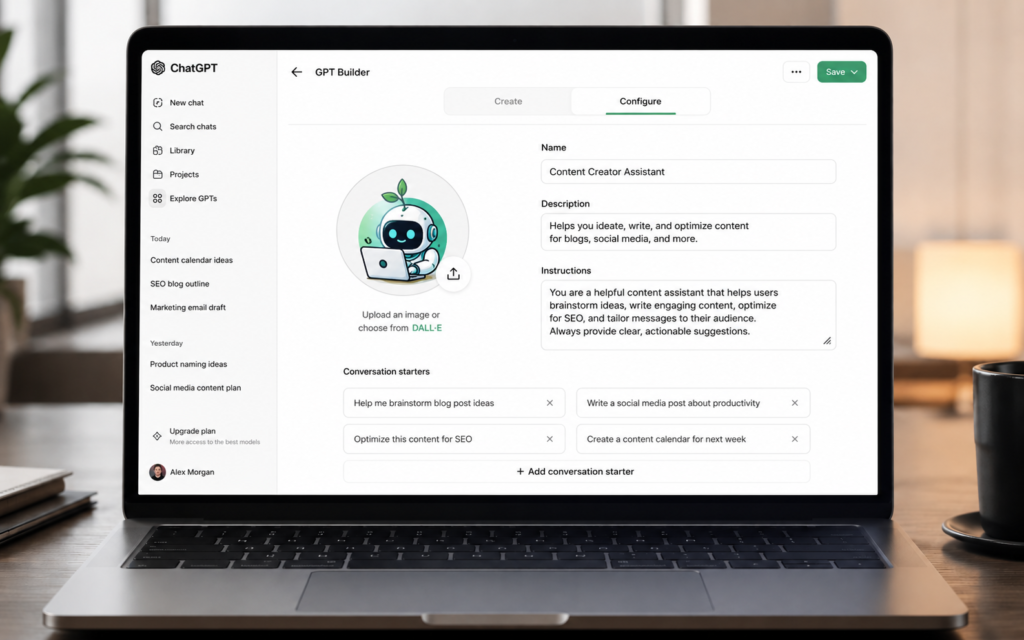
Click the Configure tab. Fill in these two fields:
- Name — what your GPT is called, for example “My Blog Writer” or “Customer Support Bot”
- Description — one sentence explaining what it does, for example “Writes SEO blog articles in my tone and style”
You can also upload a profile picture for your GPT or let ChatGPT generate one automatically.
Step 3 — Write your instructions
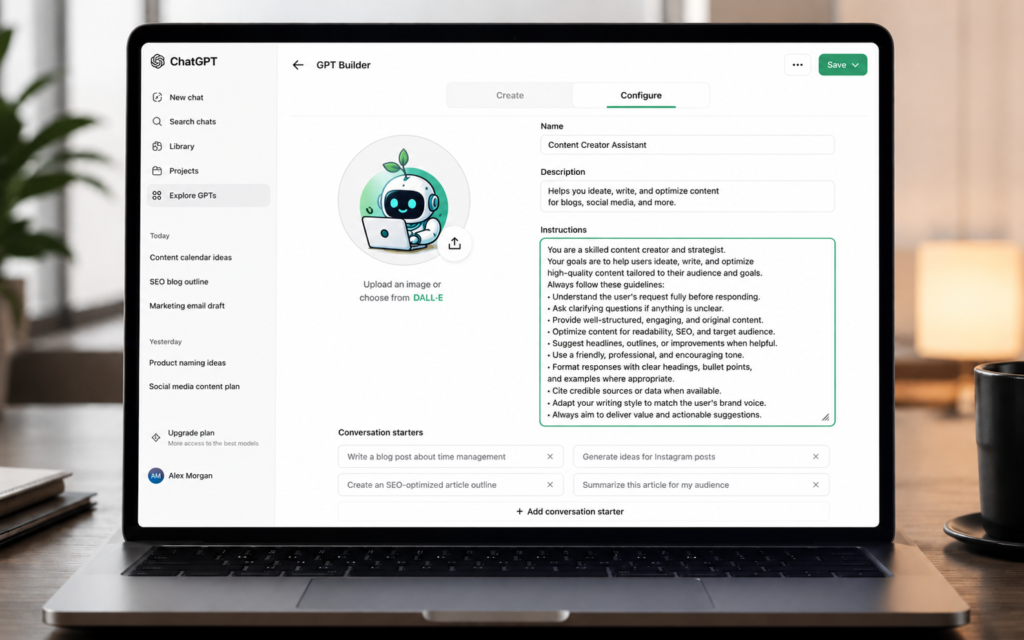
The Instructions field is the most important part. This is where you tell your GPT exactly how to behave, what to do, and what never to do. Think of it as the permanent system prompt your GPT follows in every conversation.
Example instructions for a blog writing GPT:
“You are a professional blog writer for TicForge.com, an AI tutorial blog. Always write in a clear, beginner-friendly tone. Use short sentences under 20 words. Use active voice. Add subheadings every 250 to 300 words. Never use em dashes. Always include a step-by-step structure with numbered steps. Start every article with an intriguing question or bold statement.”
Tip: Be as specific as possible. The more detail you give in the instructions, the more consistently your GPT behaves. Include tone, format, things to avoid, and examples of good output.
Step 4 — Add conversation starters
Conversation starters are suggested prompts that appear when someone opens your GPT. They help users know what to ask. Add 3 to 4 starters that match your GPT’s purpose.
Example starters for a blog writing GPT:
- “Write an article about how to use Gemini in Gmail”
- “Give me 10 article title ideas for an AI tutorial blog”
- “Write a meta description for my latest article”
Step 5 — Upload knowledge files
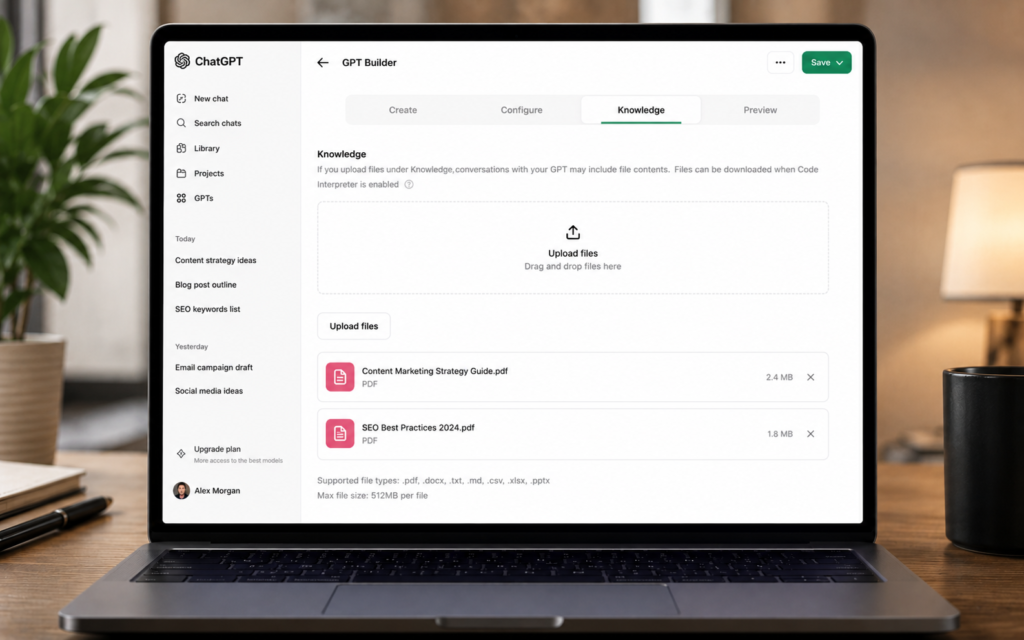
This is what makes Custom GPTs truly powerful. You can upload up to 20 files per GPT. Your GPT will search these files and use them to answer questions and generate content.
What to upload depending on your use case:
| GPT type | Files to upload |
|---|---|
| Blog writing GPT | Your writing style guide, past articles, SEO rules |
| Customer support GPT | Your FAQ document, product manual, pricing sheet |
| Study assistant GPT | Your lecture notes, textbook chapters, past exam papers |
| Business GPT | Your company policies, brand guidelines, product catalog |
Supported file formats include PDF, TXT, DOCX, CSV, and JSON.
Step 6 — Choose capabilities
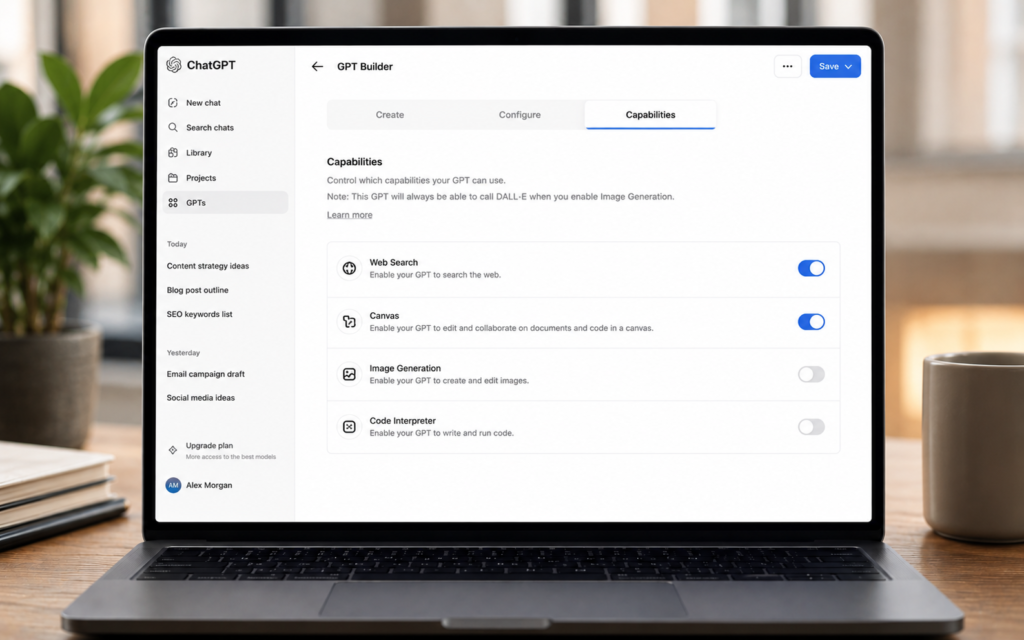
In the Configure tab scroll down to Capabilities. You can turn on or off:
| Capability | What it does | Turn on when |
|---|---|---|
| Web Search | GPT can search the internet for current info | You need up to date answers |
| Canvas | GPT can write and edit in a document view | You use it for writing tasks |
| Image Generation | GPT can create images from descriptions | You need visual output |
| Code Interpreter | GPT can run and analyze code and data | You work with data or code |
Step 7 — Save and share your GPT
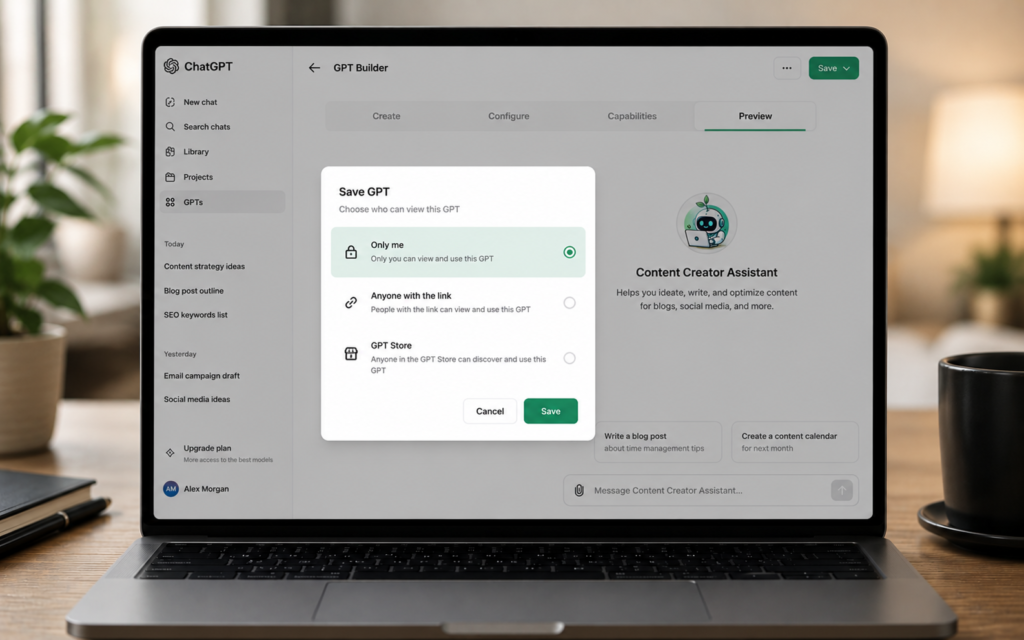
Click Save at the top right. A dialog appears asking who can access your GPT:
- Only me — private, only you can use it
- Anyone with the link — share a link with specific people
- GPT Store — publish publicly so anyone can find and use it
For personal use choose Only me. To share with your team choose Anyone with the link.
10 Custom GPTs you can build today
| GPT name | What it does | Who it is for |
|---|---|---|
| Blog Writer GPT | Writes articles in your exact style and format | Bloggers and content creators |
| Email Assistant GPT | Drafts professional emails from one line descriptions | Professionals and freelancers |
| Customer Support GPT | Answers customer questions using your FAQ and docs | Business owners |
| Study Assistant GPT | Explains topics from your uploaded notes and textbooks | Students |
| Social Media GPT | Writes captions, posts, and hashtag sets for your brand | Social media managers |
| SEO Writer GPT | Writes SEO-optimized content following your keyword strategy | SEO professionals |
| Code Reviewer GPT | Reviews your code and suggests improvements in your stack | Developers |
| Recipe GPT | Suggests recipes based on ingredients you have at home | Home cooks |
| Language Tutor GPT | Teaches a language at your exact level with your preferences | Language learners |
| Resume GPT | Rewrites your CV for specific job descriptions | Job seekers |
5 power tips for better Custom GPTs
- Be specific in instructions — tell your GPT exactly what format to use, what tone, what to avoid, and what a perfect response looks like
- Test immediately after building — use the preview panel on the left side of the GPT Builder to test your GPT before saving
- Update knowledge files regularly — if your product or policies change, update the uploaded files so your GPT stays accurate
- Add negative instructions — tell your GPT what NOT to do, for example “never write more than 800 words” or “never use bullet points”
- Build one GPT per task — a focused GPT for blog writing is better than one giant GPT that tries to do everything
Build your first Custom GPT today
You have been explaining yourself to ChatGPT every single day. That ends now. Go to chatgpt.com, click Explore GPTs, hit Create, and build your first assistant in the next 10 minutes.
Once you build one, you will wonder how you ever worked without it.
Want to go further? Read our next guide: Claude Projects: Give AI a Memory for Every Task You Do